
Journity is able to integrate with many email systems using Zapier (www.zapier.com).
Journity has a built-in (native) integration to capture new email signups directly into MailChimp. However, if you use a different email system (e.g. Hubspot, Marketo, Watson or ConstantContact, Copper), you can now send those email signups directly into your email system using the Zapier interface. Here are the steps:
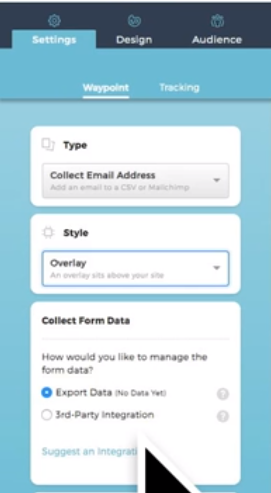
1. Create a new Waypoint in Journity to capture email addresses.
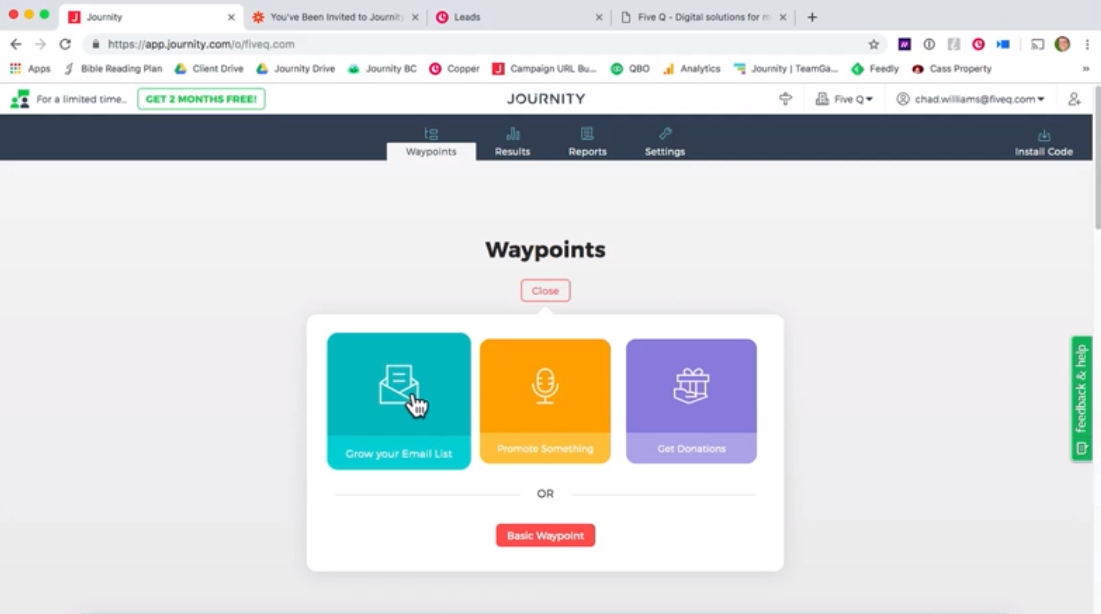
2. To collect the form data in Journity select "Export Data". Then publish your waypoint.
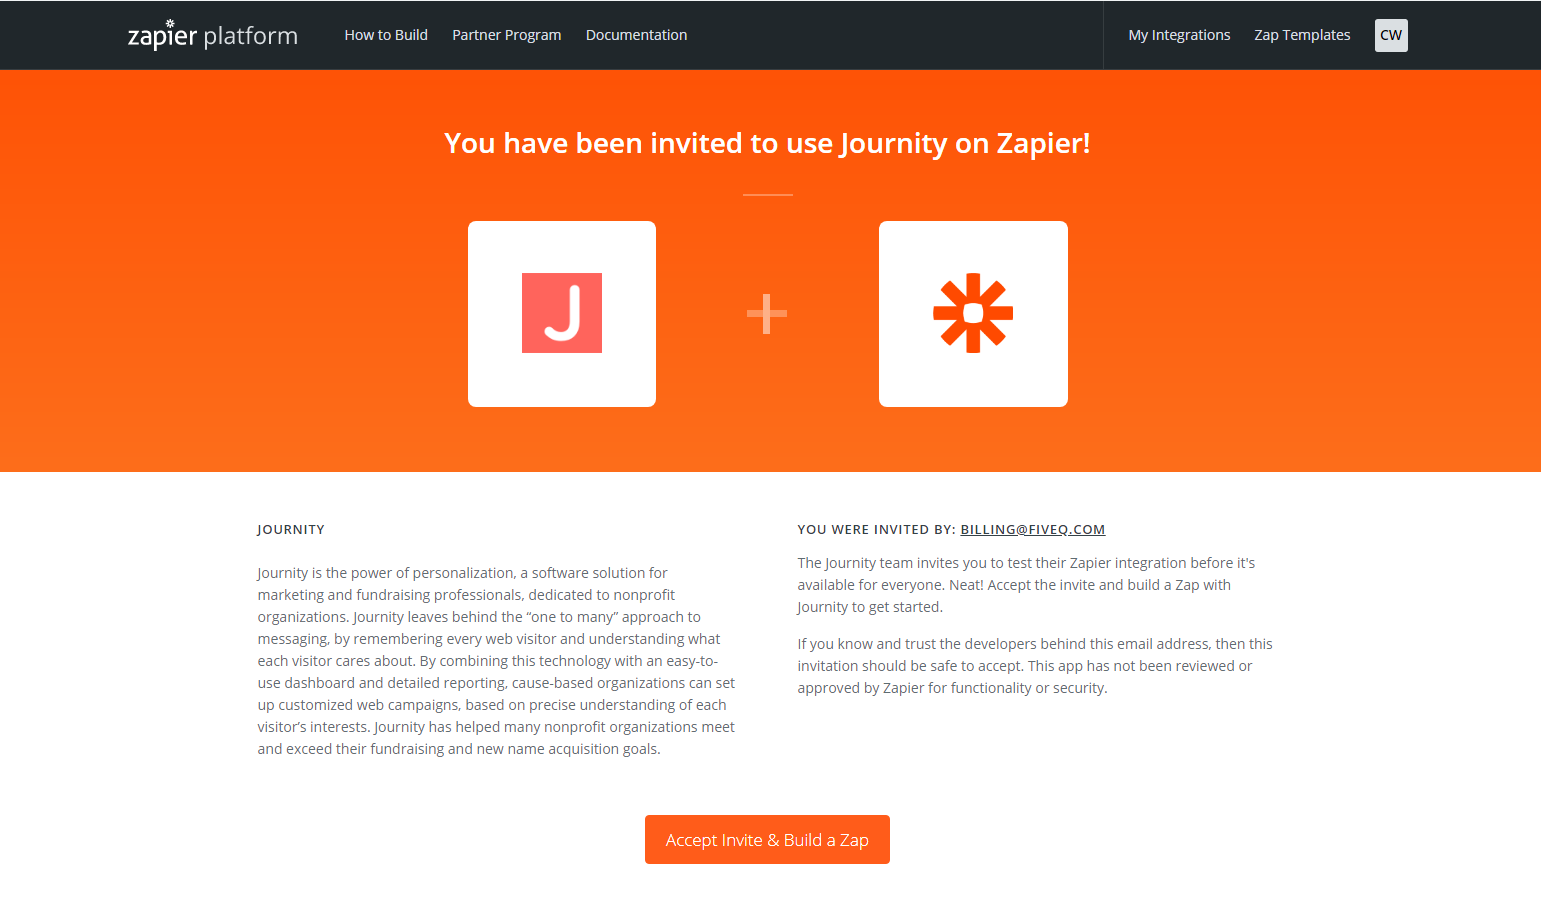
3. Click in this link to be invited to use the Journity zap: https://zapier.com/developer/public-invite/5847/bf9fcdc43997275b661e4f029ccd2719/ (Note, once Zapier requirements for the number of people using the Journity Zapier are met, this private invitation will be replaced with the Journity Zap being listed in the Zapier system for everyone to access.)
4. Select "Select Invite & Build a Zap".
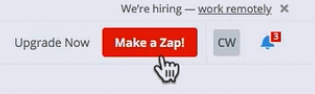
5. Once your logged in, select "Make a Zap!".
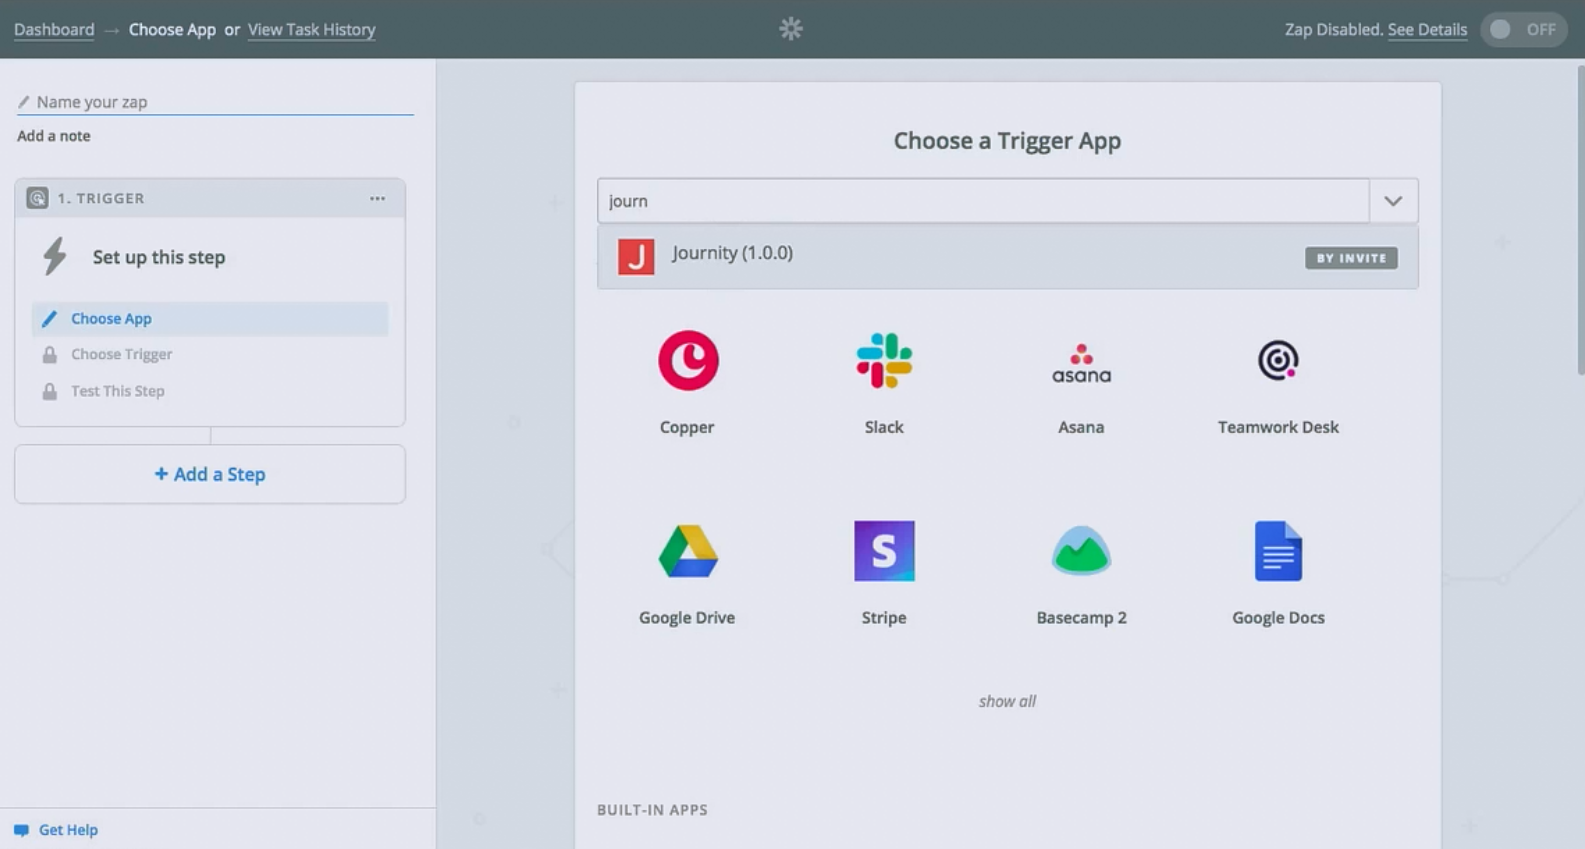
6. Search for Journity and choose it as your Trigger App.
7. Select "New Email Form Submission", then "Save + Continue".
8. Select "Connect an Account" then Zapier will prompt you to enter in your API Key. Your API Key can be found on the settings tab of Journity.
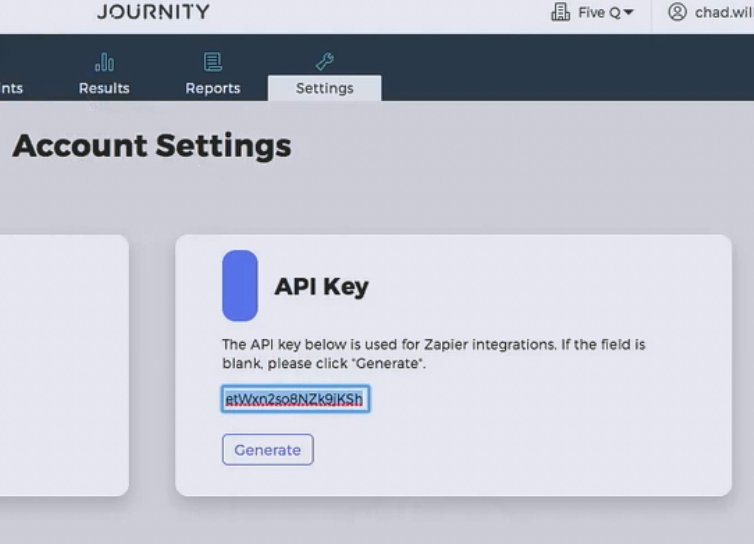
9. Copy and paste the API Key into the Zapier pop-up, then select "Save + Continue".
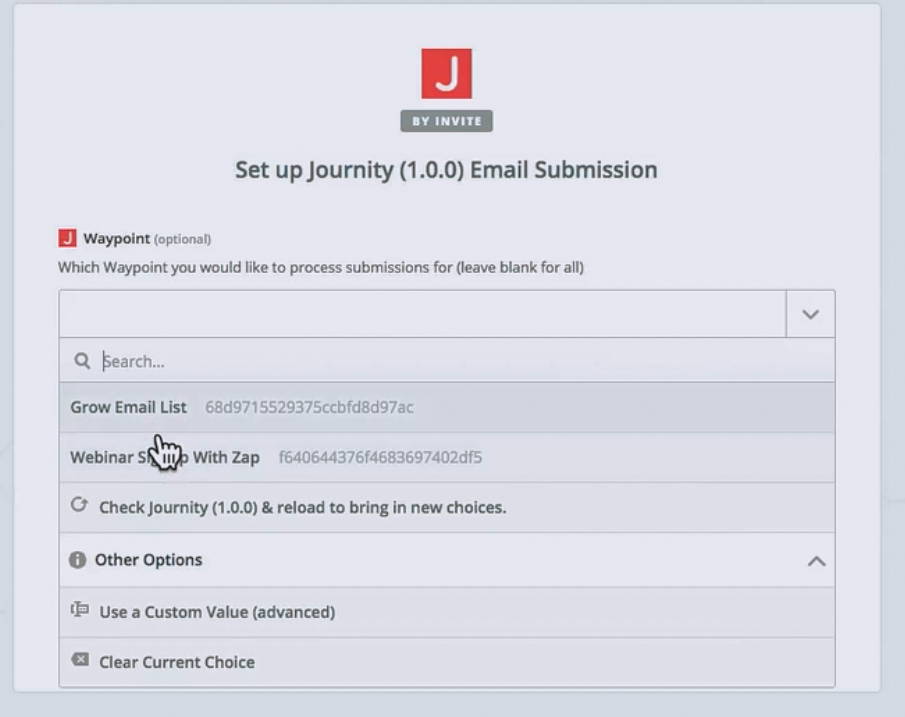
10. To set up your New Email Submission select which Waypoint you would like to process submissions for (leave blank for all).
11. If you want to filter by tags so that only email submissions that have that tag would go into your email system, enter them under "Groups". You can locate the tags you've added in the settings section of your Waypoint.
12. Next, pick a sample to set up your Zap and select "continue".
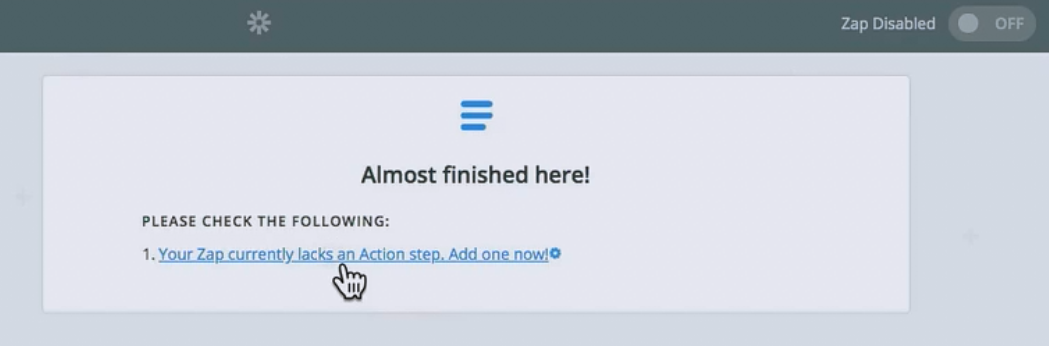
13. Almost finished! Add an Action Step to setup your Zap. It is here where you will decide what you want to do with the data from Journity

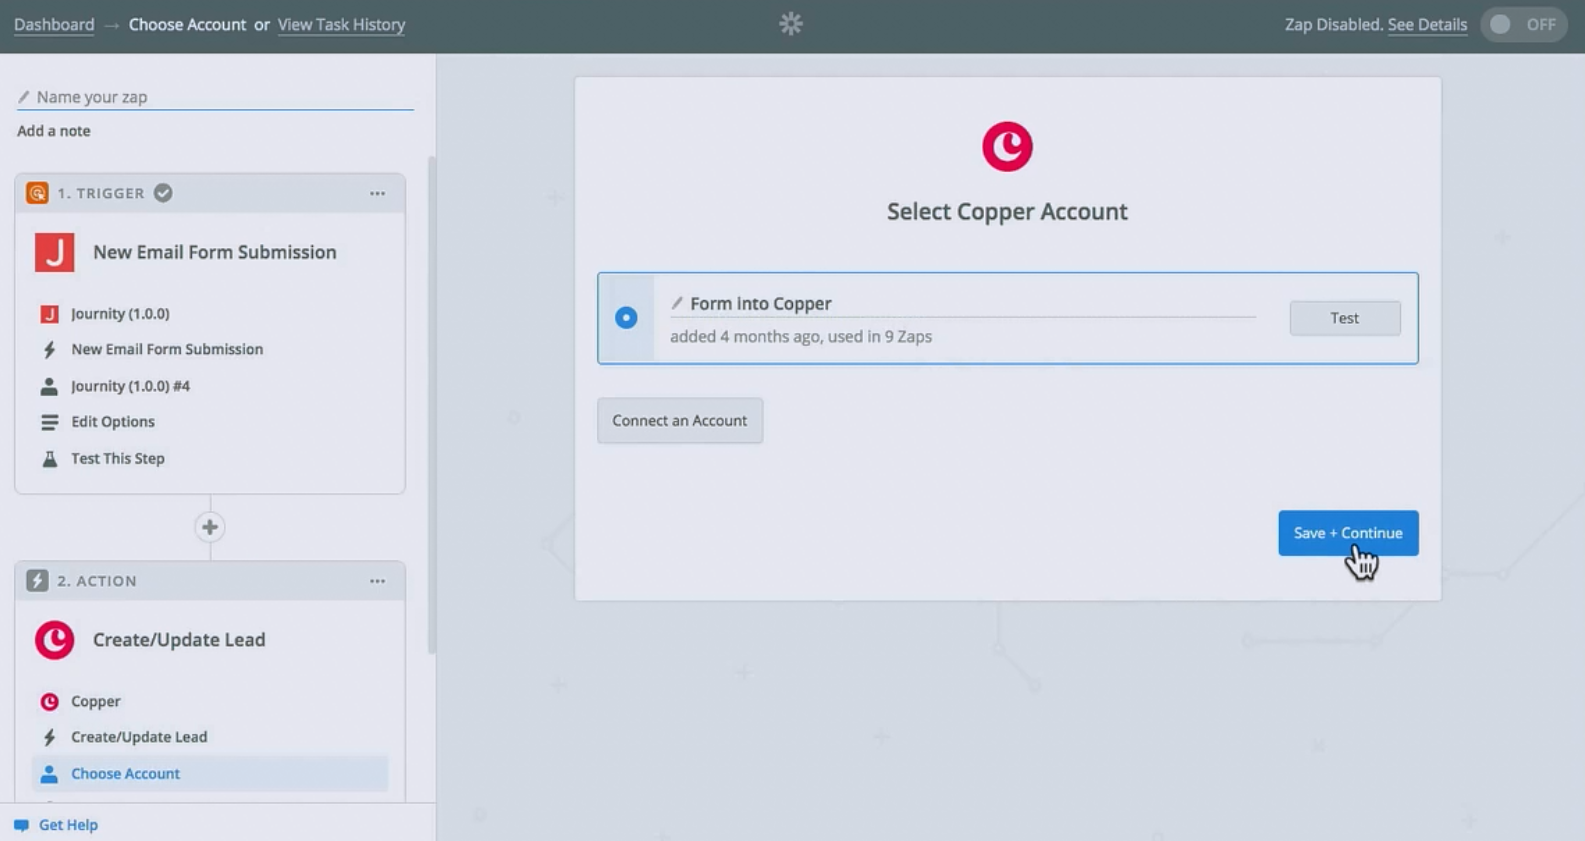
14. Choose an Action App, select what action it will perform then click "Save + Continue".
15. Zapier will prompt you to "Connect an Account" again. You may be asked to input an API Key or Token depending on what Action App you chose to use. Click "Save + Continue".
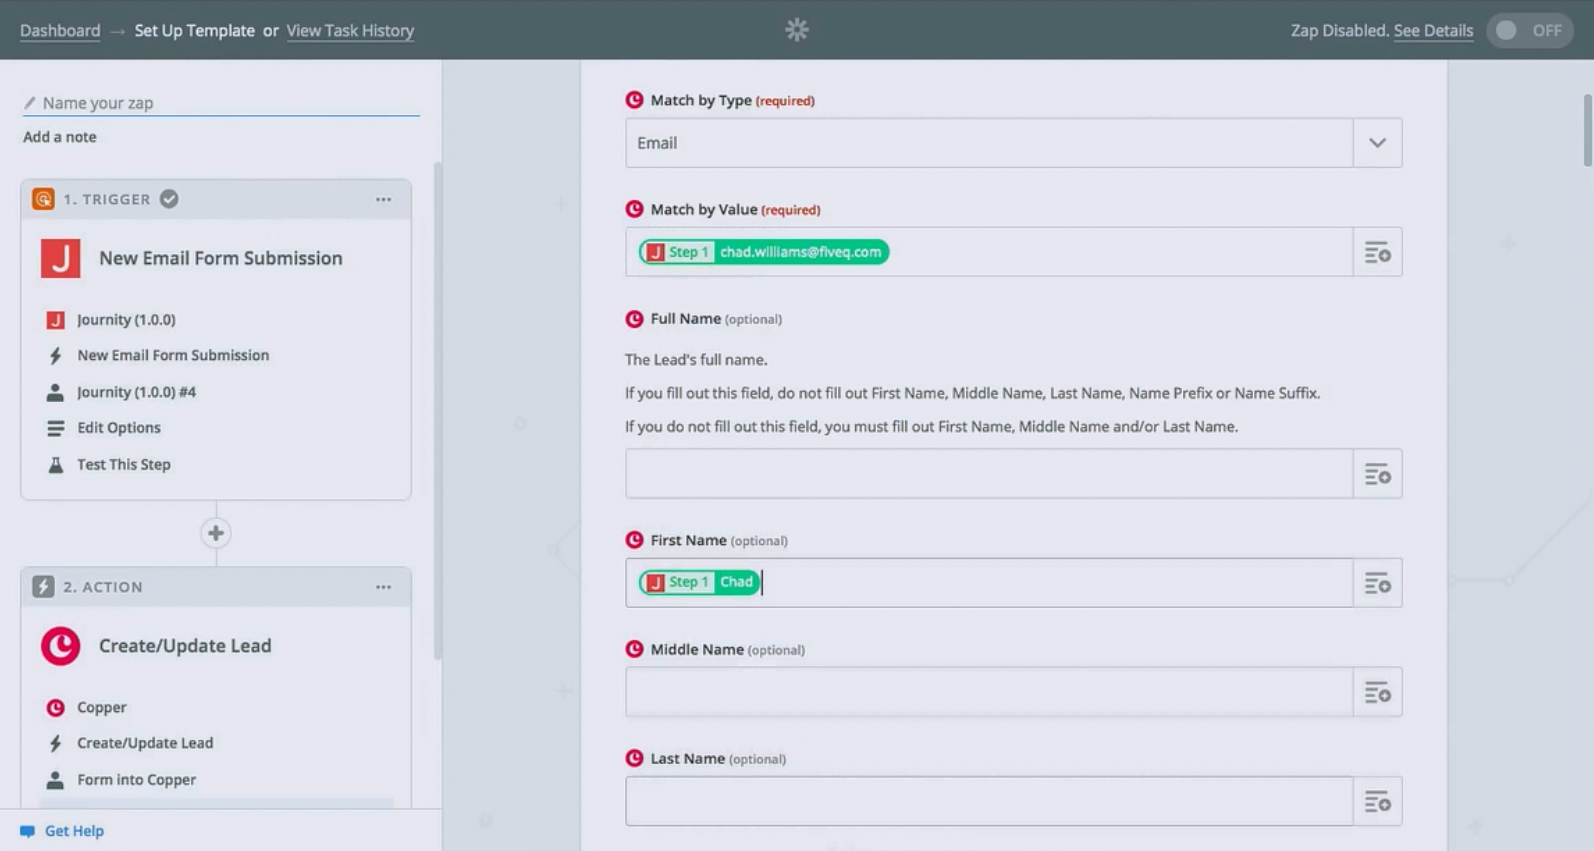
16. Set up your Action App by selecting the Match by Type, Match by Value, First/Last Name, Email and any other fields you'd like to see included. Select "Continue".
17. Review the Sample Test. Then select "Send Test to --- ".
18. Once the test was successful, double check that the test showed up in your Action App.
If you have other suggestions for ways that you would like to integrate Journity using Zapier. Please let us know at customersuccess@journity.com.
Journity Team